[Unofficial] DIY Lunar Revel Shadow Box Tutorial!
Hello all! I wanted to share with you a tutorial for making your own Lunar Revel 2016 themed shadow box!
Well, shadow boxes are usually just really deep picture frames, so instead of just shoving a single flat piece of paper in there, you can do all sorts of depth stuff and layers. Specifically, what we're doing here is layering up several cutouts of an image to create a little bit of parallax effect, making the image feel more 3d! Like so:

What Is This?
"What the flip is a shadow box‽", I hear you say?Well, shadow boxes are usually just really deep picture frames, so instead of just shoving a single flat piece of paper in there, you can do all sorts of depth stuff and layers. Specifically, what we're doing here is layering up several cutouts of an image to create a little bit of parallax effect, making the image feel more 3d! Like so:
Materials!
You will need:- A shadow box frame. 5 inches by 7 inches.
- A sharp craft knife/scalpel.
- All of the fingers you started this tutorial with. Please don't cut yourself with the knife!
- A cutting board (or thick sheet of card) to protect the surface beneath.
- Access to a fancy color printer.
- Fancy photo paper for that color printer. 2 sheets.
- One sheet of crappy paper for a test print.
- Craft glue.
- Wooden coffee stirrer sticks (or similar).
- This modified image of the Lunar Revel 2016 teaser wallpaper.
- Access to a reasonable image viewer.
Method!
1. First, we want to get our print the correct size. Download the above Lunar Revel 2016 teaser modified image to your machine. 2. Open up the image in the viewer/editor of your choice and find the print options. You want to find one that will do "print exact size". Photoshop Elements has this. Now, printers are mostly possessed by demons, so it's unlikely you'll get the size right the first time. This is why we have crappy paper to start with. 3. Set it up to print in black&white, on crappy paper, 'Fastest" mode and print it out. If it's the right size, you are a wizard. If not, compare it to the size of the piece of white paper inside the frame, rescale, and reprint. 4. Once you have it printing to the right size (around 6.5 inches by 9.2 inches size) then it's time to upgrade to color, "Best" mode, and your fanciest paper! Print 2 copies. 5. Ok! You should now have 4 Lunar Revel images (2 per page). First, we want to cut them out from the paper and each other. You now have 4 pieces of paper. Check they fit into the shadow box frame. 6. Keep one of the images for the extreme background. (If you have an image that's a bit wonky on the edges - you should use this one!) 7. Cut out the rear-most layer. Here is a guide image as to where to cut, and what to retain (keep the red area, discard the rest). Be really careful cutting this stuff out - it's better to go slowly and carefully, than it is to press too hard, slip, and lose a tree (or worse, blood!). 8. Similarly, cut out the mid-ground layer (Template here - the red area is what you want to retain.) 9. Lastly, cut out the extreme foreground layer (with template). I left this one to last, because you should be pretty good at this by now, and this is the layer that will be most easily seen. 10. Rest your hands! They might be tired by now. Maybe drink some water. Staying hydrated is good. 11. Get your coffee stirrer sticks (or equivalent) and cut them into short lengths of around 0.5 inches. You are going to glue these on top of each other to make spacers between the layers. If you don't have coffee stirrer sticks, then you could use little cutouts of foam, or pieces of corrugated card, or whatever you can find that's small, thick, and light. 12. Stack your coffee stirrers and glue them into little piles. I liked stacks of coffee stirrer pieces 3 high - that gives a spacer height of around 1/5th of an inch or so. 13. Once the stacks are done (you should have about 30 stacks or so) take the un-cut image, and the background cutout. Place the uncut image down in front of you, face up. Turn over the background cutout so it is face-down. 14. Glue down a spacer-stack onto the back of the background cutout. Not too close to an edge. Glue down lots more (up to 15 or so) reasonably equally spaced across the cutout image back. 15. Apply glue to the other side of the spacers (the side face up to you). 16. SUPER CAREFULLY, pick up the background cutout (the one with all the spacers on it now) and turn it over in the air. CAREFULLY line it up over the uncut image, and when you think you have them lined up perfectly, lower it down to stick to the spacers. NOTE - You may want to line these up against an edge (like a box or something) so you have the bottom of the image lined up nice. 17. Repeat with the other layers! Take a cutout, place it face-down, apply enough spacers to support it, put glue on the spacers and then pick it up and lay it down on the pile of spaced-cutouts. You are working from the back of the image, to the front. 18. And, if all has gone well, you're finished! Check that the stack (of 4 images sandwiched together with little wooden spacers) still fits inside the frame. If it doesn't quite fit any more, then carefully use scissors to trim off any sticky out edges.Done!
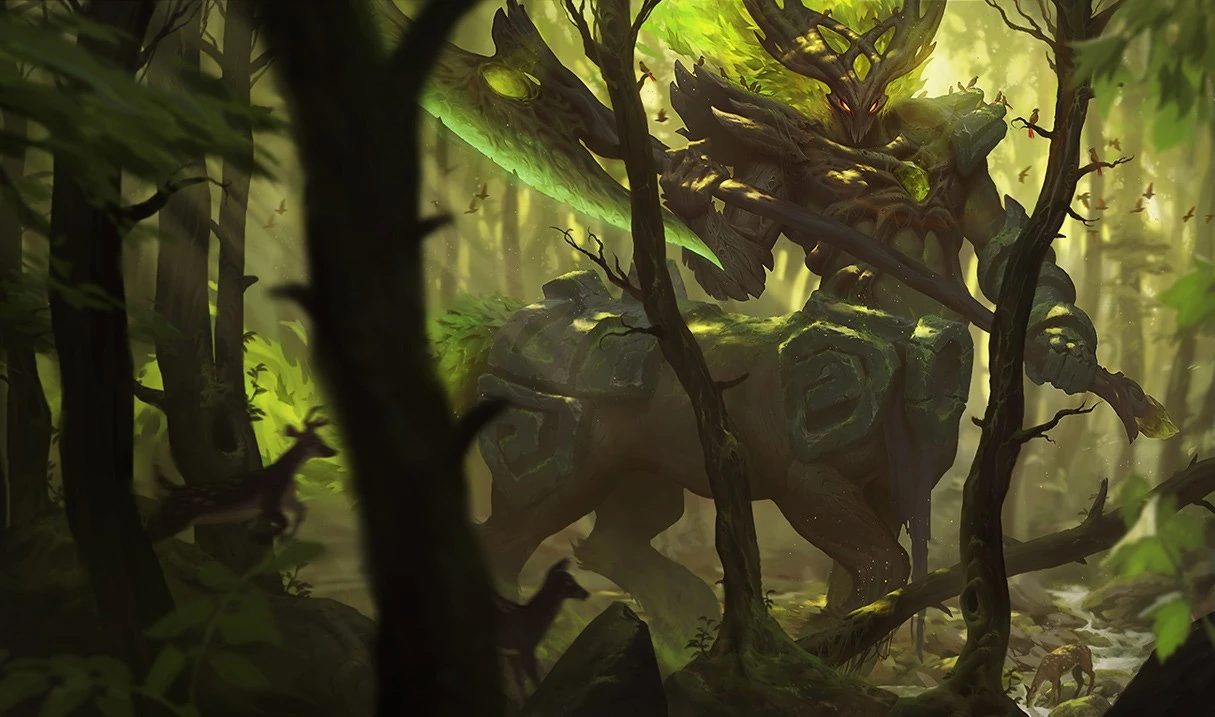
You should have a lovely Lunar Revel 2016 inspired shadow box display for your trouble! Check out that sweet, sweet, parallax action:- Avoid images with a lot of magical particle effects, smoke, or blurring. Those are impossible to cutout. (For example, I really wanted to do one for Elderwood Hecarim, but check out that foreground blurring! I can't cut out those trees!!)
- Try to go for bright or light colored images - dark images (like the Lionheart Braum group splash) turn out darker when you print them out.
- Don't do too many layers. Ideally 3 or 4 at the most with a strong foreground, mid ground, and background. More than 4, and you will end up hating it unless you're REALLY into paper cutting. Maybe you are - I don't know your life.